
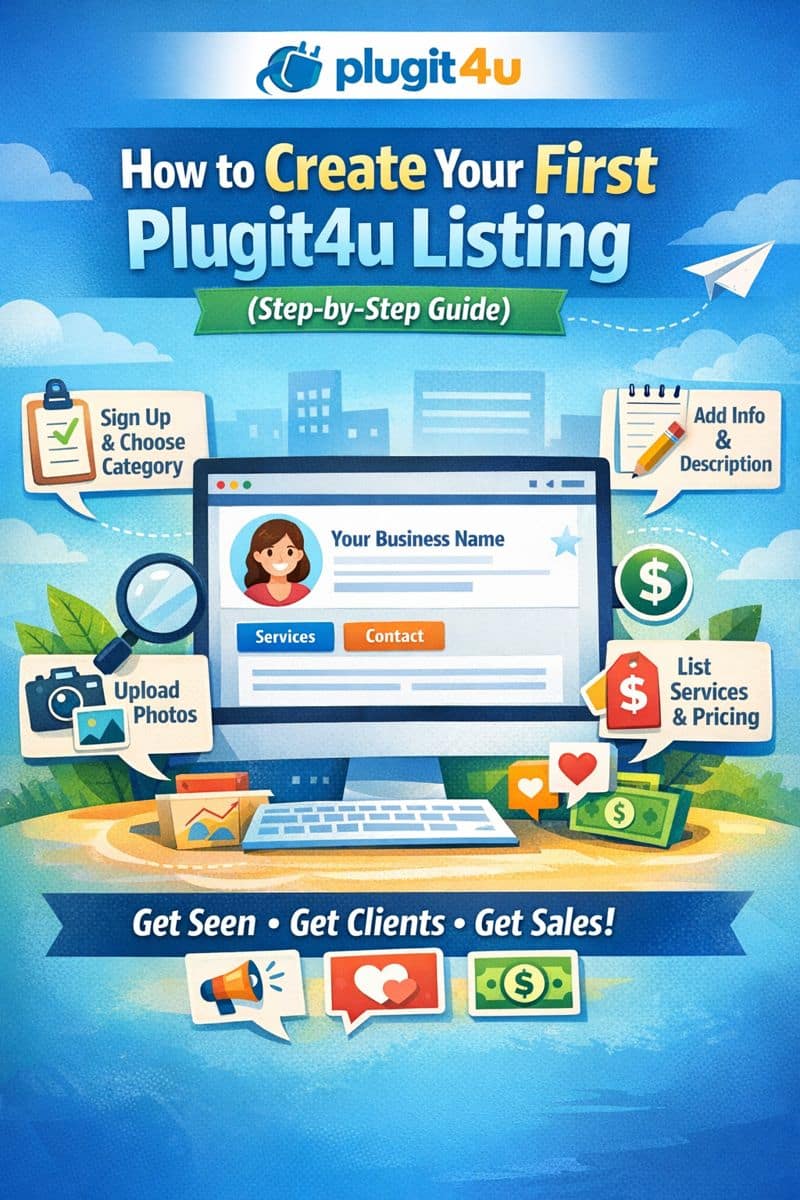
Creating your Plugit4u listing is the first step to getting your services, products, or courses seen by the right people. Whether you’re a freelancer, business owner, or educator, your listing acts as your digital storefront.
Follow this simple step-by-step guide to set up your profile from scratch.
Step 1: Sign Up for a Free Account
- Visit www.plugit4u.com
- Click on Sign Up or Create Listing
- Enter your email address and create a password
- Verify your email (if required)
Once registered, you’ll be taken to your dashboard where you can create and manage your listing.
Step 2: Choose Your Category
Select the category that best matches what you offer, such as:
- Business services
- Creative services
- Tutoring & education
- Health & wellness
- Digital products
Choosing the right category helps customers find you faster.
Step 3: Add Your Business or Profile Name
Enter the name of your:
- Business
- Brand
- Service
- Or personal name (if you’re a freelancer or tutor)
Make sure it’s:
✔ clear
✔ professional
✔ easy to recognize
Example:
“BrightPath Math Tutoring” or “Alex Web Design Services.”
Step 4: Write a Strong Description
Your description tells visitors:
- who you are
- what you offer
- who you help
Tips for a good description:
- Keep it simple and easy to read
- Focus on the benefits, not just features
- Use keywords related to your service
Example:
I help small businesses build professional websites that attract customers and grow their online presence. My services include website design, branding, and ongoing support.
Step 5: Upload Images or Visuals
Add:
- a logo
- product photos
- or service-related images
Good visuals:
✔ make your listing stand out
✔ build trust
✔ increase clicks
Use clear, high-quality images whenever possible.
Step 6: Add Contact Information
Include at least one way for customers to reach you:
- phone number
- website
- or social media links
Make it easy for people to take the next step.
Step 7: Add Your Products, Services, or Courses
List what you offer clearly:
- service name
- short description
- price (if applicable)
Example:
- Website Design Package – $299
- 1-Hour Math Tutoring Session – $30
This helps visitors quickly understand what you sell.
Step 8: Review and Publish Your Listing
Before publishing, double-check:
✔ spelling and grammar
✔ images are uploaded
✔ contact info is correct
✔ offers are clear
Then click Publish or Save Listing.
Congratulations — your Plugit4u listing is now live!
Step 9: Share Your Listing
After publishing:
- Share your link on social media
- Add it to your email signature
- Include it on your website
The more you share, the more visibility you get.
Final Tip: Keep Your Listing Updated
Update your listing when you:
- add new services
- change prices
- upload new images
- run promotions
An updated listing builds trust and keeps customers engaged.
Conclusion
Creating your first Plugit4u listing only takes a few minutes, but it can help you:
✔ increase your visibility
✔ attract new customers
✔ promote your services or courses
✔ grow your brand online
Start today and let your listing work for you.